Black Friday deals from thousands of stores all in one place!
Updated
Getting started with Apple TV (step-by-step with pictures)
With Apple TV, you can stream your favourite shows, play games and watch TV. Here we show you step by step how to get started with your Apple TV and everything you need to know about the Apple TV box and the Apple TV free trial.

Getting started with your new Apple TV is easy, but to avoid any misunderstandings, we've put together the following guide for you.
Before you get started
There are a couple of things you need to have before starting. In this guide, we focus on Apple TV 4K, but the installation of fourth-generation Apple TV is the pretty much the same. If you have a third-generation Apple TV, the installation is similar, but the graphical interface is a little different on the older device.
What you need
- An Apple TV 4K or Apple TV 4K (gen 2(installation of the fourth generation model is the same)
- An HDMI cable. For 4K resolution, you need a cable marked “High Speed” or “Premium High Speed” (or HDMI 2.0 or later). For normal Full HD, any HDMI cable will do.
- A TV with a free HDMI socket (a TV with 4K resolution if you’ve bought an Apple TV 4K).
- The name of your Wi-Fi network and its password (not required if you connect your Apple TV with a network cable).
- User name and password for your Apple ID. This is the same as you use with your iPhone, iPad or Mac. If you don’t have an account, you can easily create one for free on the [Apple] site (https://appleid.apple.com/account).
Not too complicated, right? Then let’s get going.
Connect Apple TV step by step
1. Connect power and video
Plug the power cord into a free mains socket and into the connector on the back of your Apple TV. The HDMI cable connects to your TV and to the back of the Apple TV (it doesn’t matter which end you put where, it works either way around).
2. Start the remote control
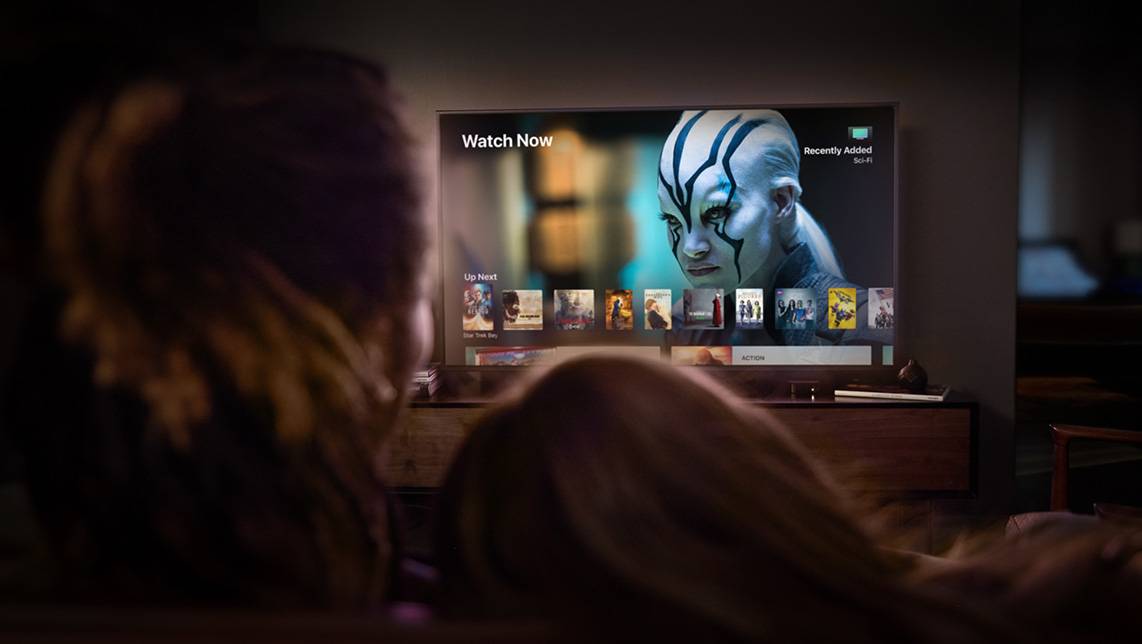
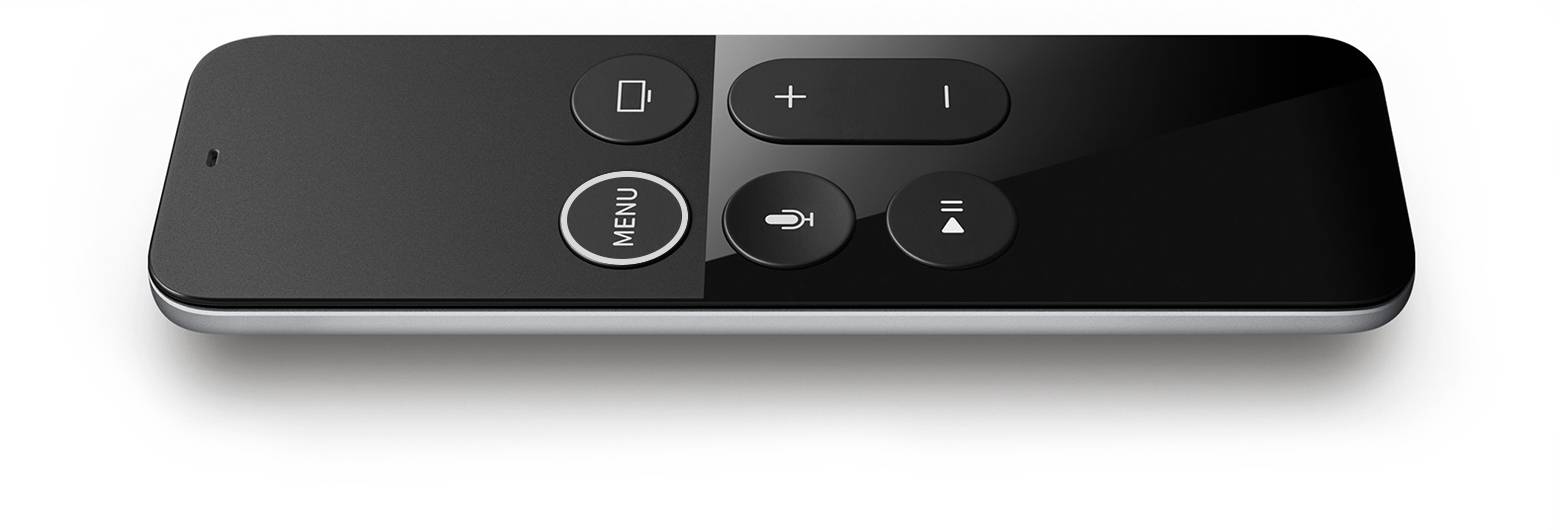
Turn on your TV and set the HDMI channel you connected your Apple TV to. The remote control then needs to be paired. This simply involves pressing the touch pad of the remote control. That’s all.
If you have an Apple TV 4k (gen 2) released in April 2021, the remote control looks a bit different. Primarily because the large touch pad is replaced by a D-pad. But pairing is the same, except you press in the centre of the D-pad, rather than on the touch pad.
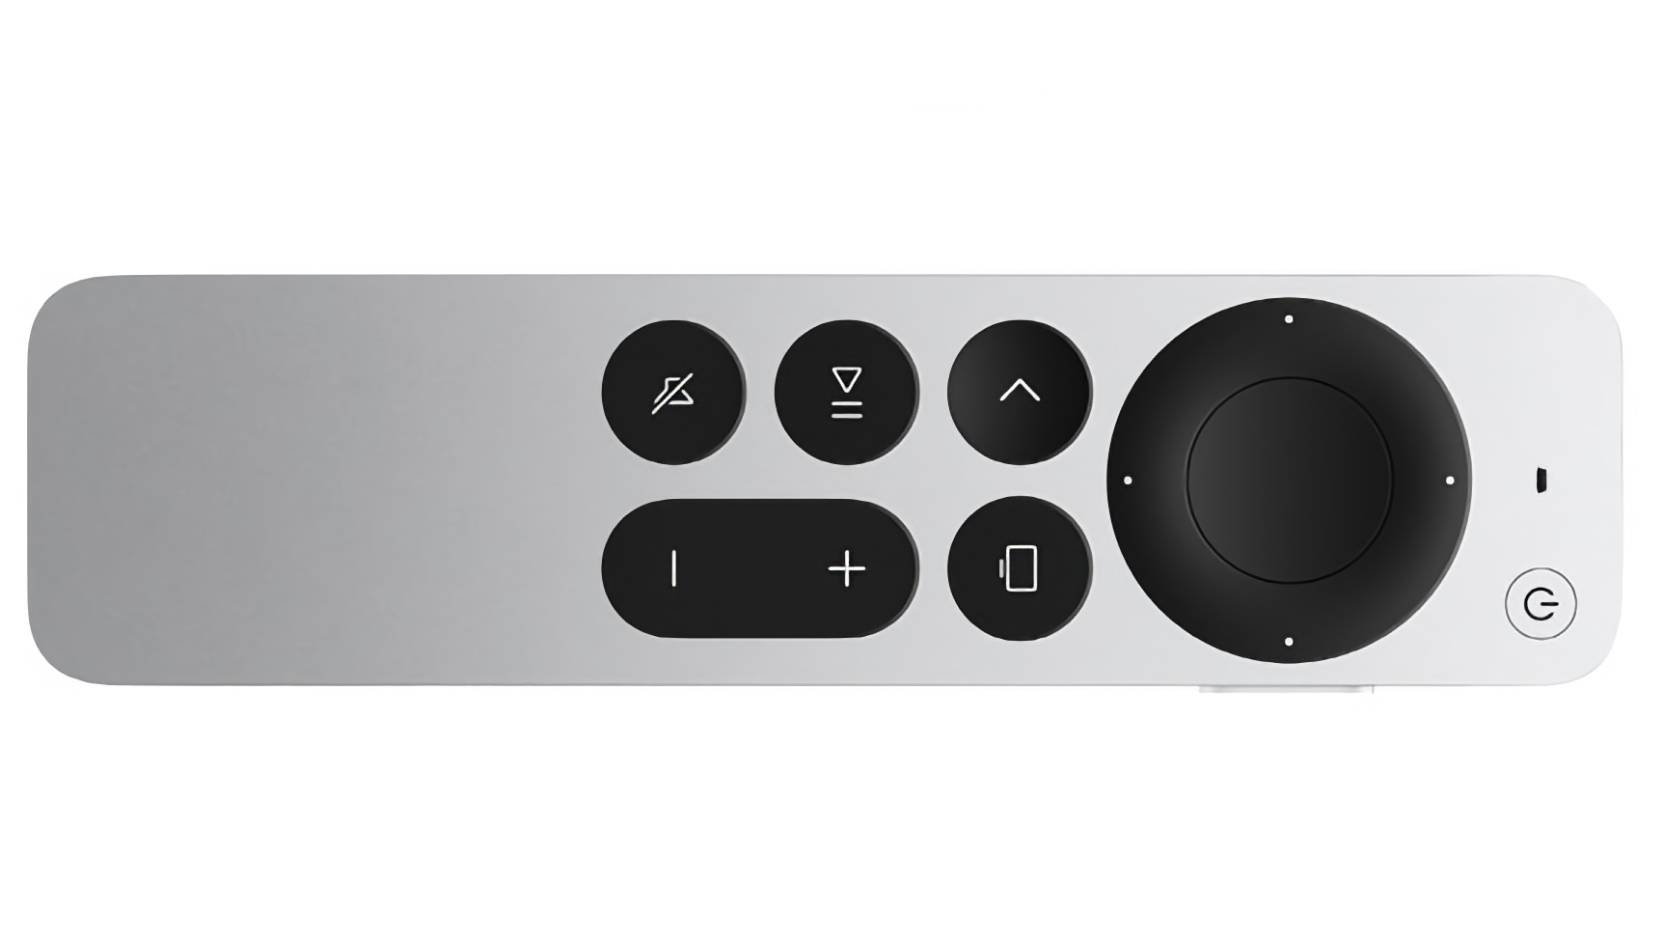
Bonus: Do you have an older Apple TV (4 or 4K) and feel like you’ve never got on with the remote? The new Siri Remote, as it’s called, can be bought separately can be paired with your older Apple TV.
3. Confirm selection
The touch pad on the remote control is used in the same way as one a laptop computer and is the main way to navigate your Apple TV. A click on the touch area means ‘confirm’, while a click on the ‘Menu’ button goes back one step (once it’s running, you can press and hold the button to go to the main menu).
If you have a new remote control, pressing in the middle of the D-pad does the same thing.
4. Control
With the remote control running, select the language you want to use and the country you’re in. After that, you’ll be asked if you want to use Siri or not. If you have an iPhone or iPad connected to the network you intend to use, you can then choose to set up your Apple TV using that. This speeds up and simplifies the process somewhat. However, here in the guide we’ve chosen to set all the settings directly on Apple TV.
5. Connect to the network
If you select “Set Up Manually”, you’ll now get a box where you can connect to the internet. If you’re using a network cable, there isn’t much to set up. But if you’re using wireless internet (Wi-Fi), you now have to select the network you want to connect to and enter its password.
6. Enter your Apple ID
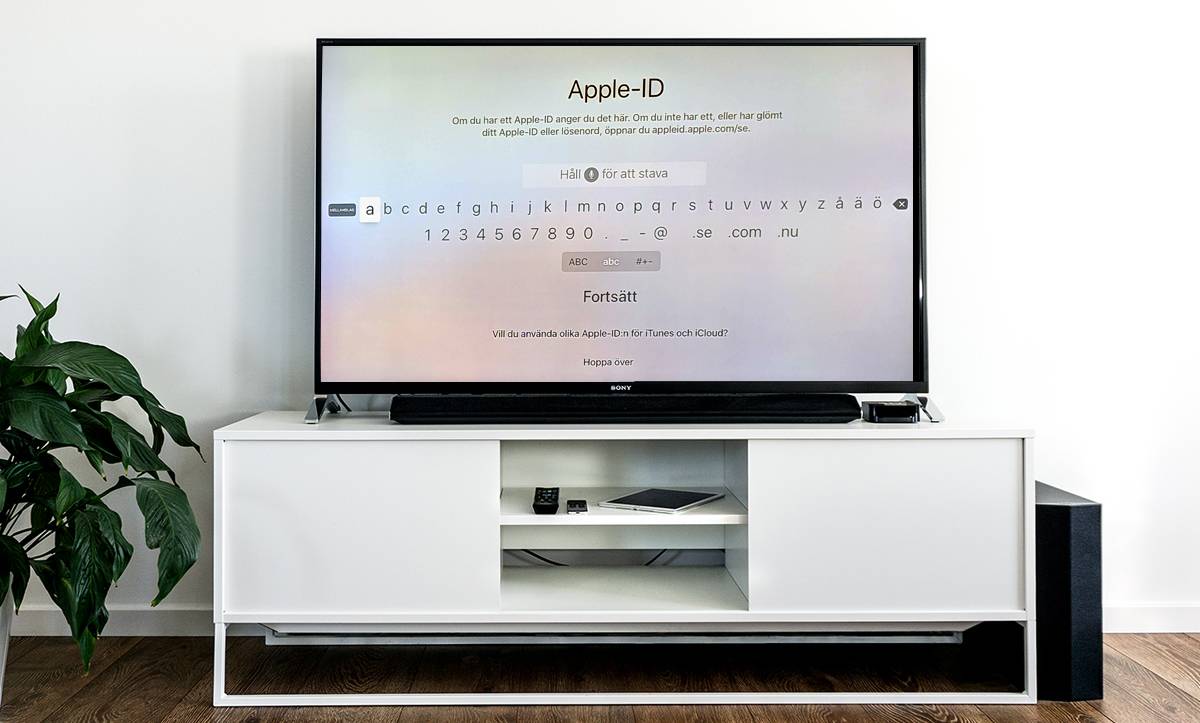
After your Apple TV connects, it's time to enter your Apple ID and password (if you turn on two-factor authentication for your account, this code will also appear on your phone or tablet). If you don’t have an Apple ID, you can get one here.
7. Decide what you want to do with passwords
Once you’re signed in, you’ll be asked what you want to do with the App Store password. Either you need to enter the password for every purchase, after 15 minutes (which is useful if you download several items at once) or never. The last option can be handy, but may not be a good idea if you have kids who might buy apps when you’re not around.
8. More settings
Now there are a bunch of small settings that don’t take long to confirm.
- Position. Choose where your Apple TV will be located. If you have only one Apple TV, it doesn’t matter much, but if you have more than one in the same household, this is a good place to distinguish between them.
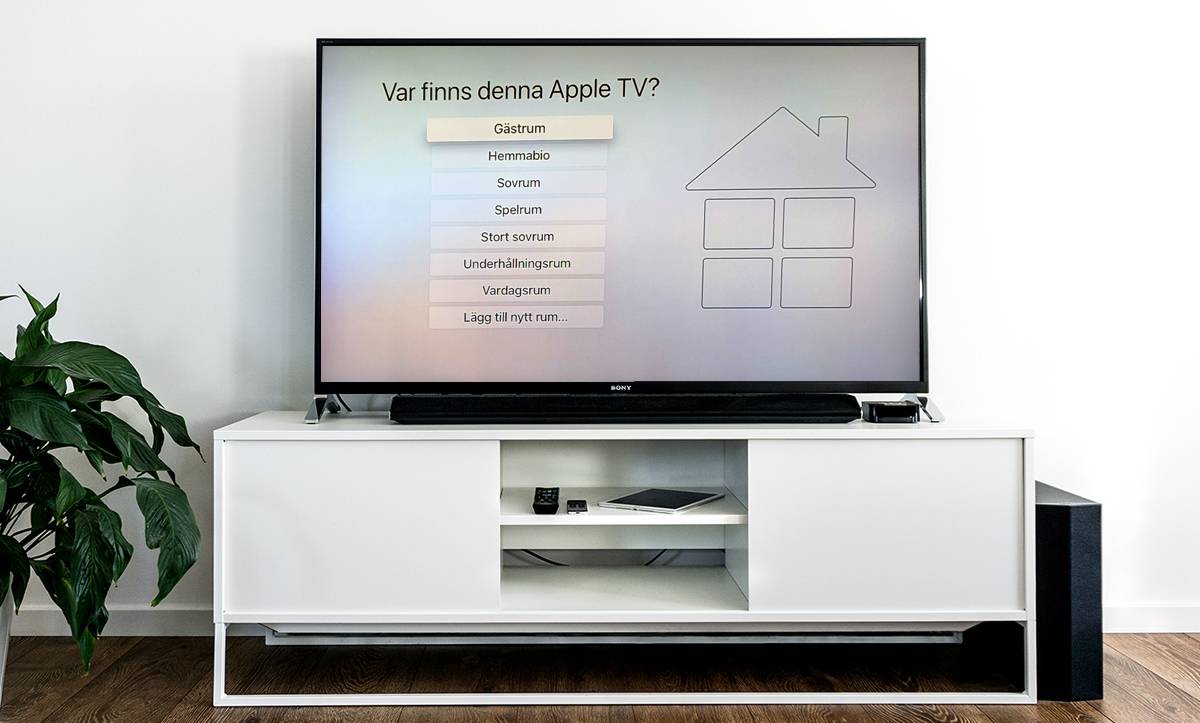
One Home screen. Do you have several Apple TVs in your household and want each one to have the apps organised in the same way? If so, turn on the “One Home screen” function. But if you have only one Apple TV, it doesn't matter.
Location services. Do you want apps to be able to see where you are in the world to provide locally customised content? If so, turn this on.
Screen saver. This allows you to automatically download new films to the screen saver at regular intervals.
Analysis. Do you want to share anonymous user data with various Apple and developer improvement programmes? If so, select this here.
Terms of use. Here you can read the terms of use for your Apple TV and accept them If you read them and feel you don’t agree with them, you won’t be able to go any further.
9. Screen test
Because Apple TV 4K supports 4K resolution and HDR images, a test box will be displayed now (provided your TV supports it and you have the right HDMI cable). Run the test according to the on-screen instructions and confirm that the image is sharp. Done! Congratulations! Your Apple TV is now set up and ready for use. You most probably want to head directly to the App Store to download apps for the streaming services you use and perhaps some other apps or games.
Good luck!
Bonus info – move apps around
Once you’ve downloaded a load of apps to your Apple TV, perhaps you want to organise the apps by how often you use them? If so, scroll down to the app you want to move and briefly press and hold the button on the touch pad to allow you to move it to a better position in the grid.